
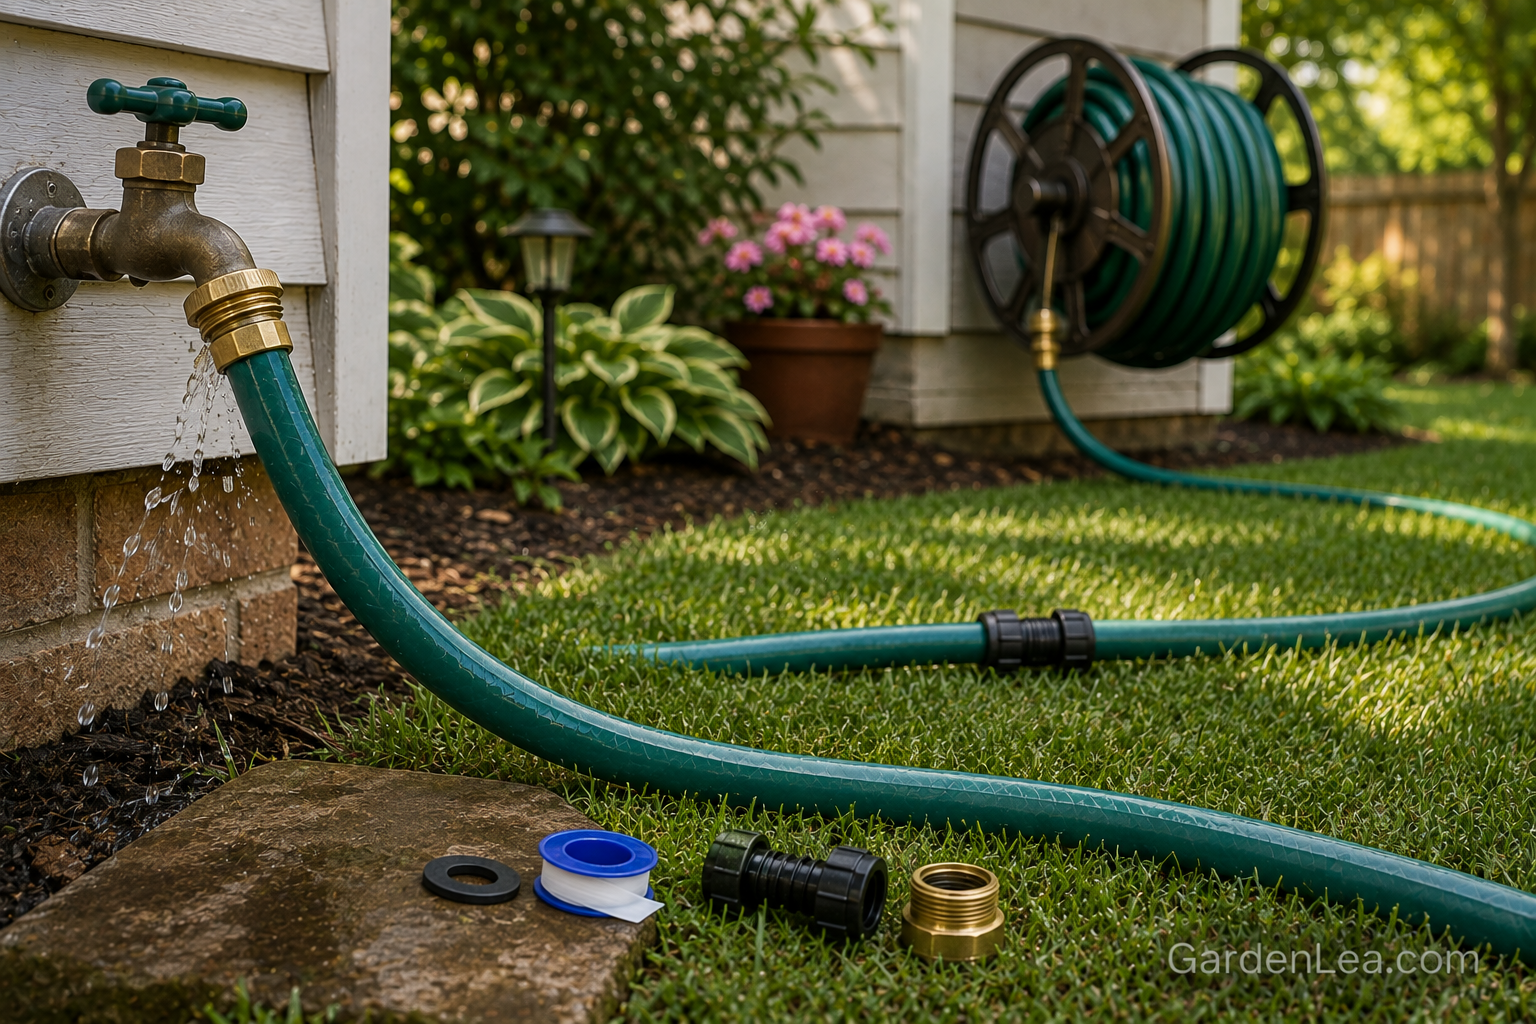
How to Fix a Leaky Garden Hose (by Where It Leaks)
To fix a leaky garden hose, first find where it leaks, the repair depends entirely on the location. A leak at the spigot usually means a dried-out washer or worn threads that need plumber’s tape. A leak at the hose’s own coupling means a new washer or a replacement fitting. A leak in the middle is a pinhole or split, fixed with a hose mender. A leak at the nozzle is almost always a missing washer. Most of these take five minutes and one inexpensive part. Only a failing hose body justifies replacing the whole thing.
That’s the whole method: stop guessing at fixes, and start at the leak. Every repair guide online is organized by fix type, “patch it, clamp it, mend it”, which is backwards from how you actually meet the problem. You’re standing at the tap with a wet sleeve. You don’t know you need a mender; you know water is spraying from somewhere. So we’ll diagnose by location, and each spot tells you the cause, the fix, and the exact part to buy.
First: find where it’s leaking (the one-minute check)
Turn the water on to about half pressure and walk the length of the hose slowly, watching for the first place water escapes. Do this before you buy anything, the part you need is decided entirely here.
There are only four places a garden hose leaks:
- At the spigot, water sprays from where the hose screws onto the outdoor faucet.
- At the hose’s coupling, the leak is at the hose’s own male or female end (the crimped collar), not the faucet.
- In the middle, a pinhole, crack, or split somewhere along the body.
- At the nozzle or attachment, water escapes where a sprayer, wand, or second hose connects.
Note the first leak you find. A tired hose can leak in two places at once, and fixing the wrong one first is how people conclude the hose is dead when it isn’t.
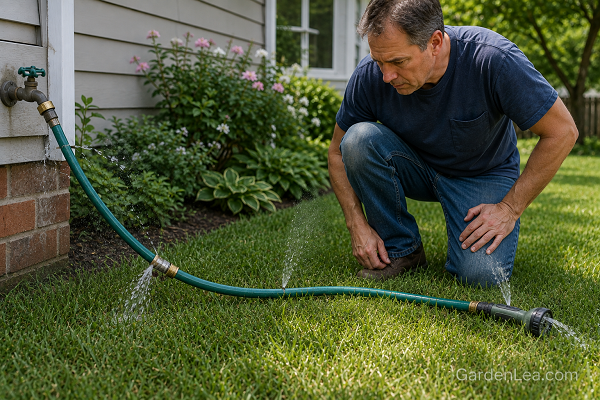
Leaking at the spigot connection
This is water escaping from the seam where the hose meets the faucet. Nine times out of ten it’s the cheapest fix on this page.
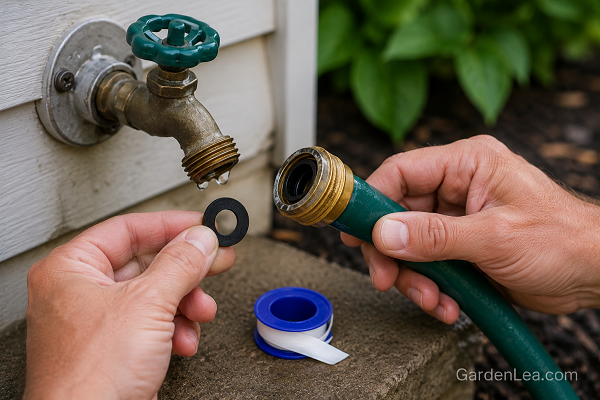
Cause 1, dried or missing washer. Unscrew the hose and look inside the female (cupped) end. There should be a small rubber washer seated flat at the bottom. If it’s cracked, flattened, or gone, that’s your leak. Push a new one in with a finger until it seats squarely. An O-ring style washer seals better than a flat one and is worth the upgrade.
Cause 2, worn threads letting water weep past. If the washer looks fine but it still seeps, wrap the faucet’s threads two or three times with plumber’s (PTFE) tape in the direction you screw the hose on, then reconnect. This is also the fix when the connection has always seeped a little.
Cause 3, the faucet threads are stripped, not the hose. This is the case almost every other guide skips. If the faucet threads are chewed up or corroded and nothing will bite, the hose is innocent, the spigot is the problem. A short-term fix is a rubber gasketed adapter made for stripped or unthreaded faucets (it slips on rather than threading). A permanent fix is replacing the hose bib itself, which is a plumbing job, not a hose job. If you’ve been buying new hoses to chase this leak, stop, you’ve been replacing the wrong part.
Overtightening causes more spigot leaks than it cures. Hand-snug plus a small nudge is enough; cranking it crushes the washer and strips plastic threads.
Leaking at the hose’s own coupling
Here the leak is at the metal or plastic collar crimped onto the hose end, the part with the threads. Test it by connecting the hose and watching that collar specifically.
Try the washer first (female end). Same as above: a fresh washer or O-ring inside the cupped end fixes a surprising share of coupling leaks.
If water sprays from the crimp itself, replace the end. When the collar is bent oval, cracked, or the hose has pulled loose inside it, no washer will help, the seal is gone at the crimp. This is a clean job:
- Turn off the water and disconnect the hose.
- Cut off the damaged fitting with a sharp utility knife or hose cutter, making a straight, clean cut just past the ragged end.
- Push a replacement male or female hose-end fitting (sold as a repair coupling) fully onto the hose so the hose seats squarely inside.
- Tighten the clamp or collar per the fitting’s design. If the hose won’t push in, a dab of dish soap on the barb helps it slide.
Match the new fitting to your hose’s diameter, most residential hoses are 5/8″, but 1/2″ and 3/4″ exist. If you’re not sure what you have, our garden hose size guide walks through measuring it so you buy a fitting that actually seals.
Pinhole or split in the middle
A leak somewhere along the body means the hose wall has failed, usually from a kink that fatigued the same spot over and over, from a garden fork, or from sun and freeze cycles.
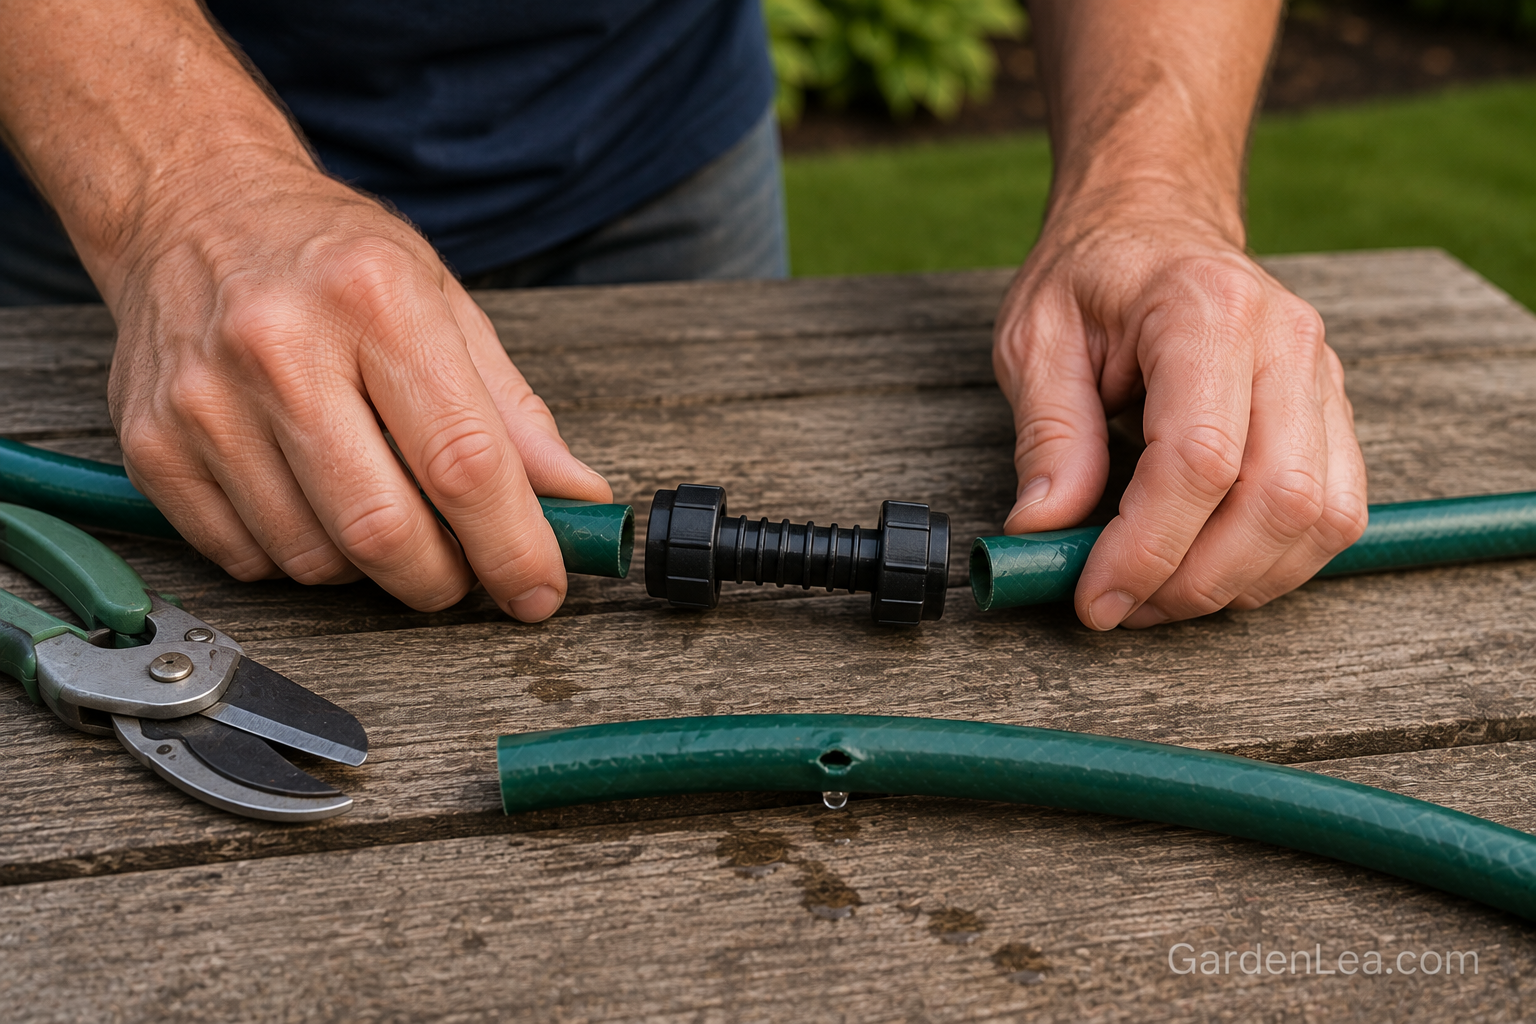
The proper fix is a hose mender. A mender (or “hose repair coupling”) replaces the damaged section with two threaded ends you can reconnect:
- Turn off the water and cut out the damaged section with a hose cutter or sharp shears, remove a clean inch on either side of the leak.
- Push each cut end onto the barbed connectors of the mender.
- Tighten the two collars clockwise until snug.
You now effectively have two shorter hoses joined by a coupling, or one shorter hose if the split was near an end. Every mender you add is one more weak point and one more small flow restriction, which matters for the fix-vs-replace decision below.
Temporary stopgaps, electrical or waterproof tape, a hose clamp over a rubber patch, or epoxy putty, will get you through today’s watering. None is a real repair; they weep again within days to weeks as pressure works behind them. Fine for finishing a job, not for the season.
Repeat kinking is the number-one cause of mid-hose pinholes, and it’s preventable. If your hose folds in the same place every time, that spot will eventually split, here’s why a garden hose keeps kinking and how to stop it.
Leaking at the nozzle or attachment
Water escaping where a spray nozzle, wand, or second hose connects is the easiest leak of all, and it’s almost always the same cause as the spigot: a missing or dead washer inside the connection.
Unscrew the attachment, check for the rubber washer, and replace it. If the nozzle itself is cracked or its internal seals have failed, replace the nozzle, the seals inside a cheap trigger sprayer aren’t serviceable and aren’t worth chasing.
The parts you’ll need, and what each one is for
You don’t need all of these. The location check tells you which one. Here’s what each part does and when it’s the right buy.
| Part | Fixes | Relative cost | Buy it when |
|---|---|---|---|
| Rubber washer / O-ring | Spigot, coupling, and nozzle leaks | Cheapest, pennies, sold in multipacks | The leak is at any threaded connection |
| Plumber’s (PTFE) tape | Weeping past worn or slightly damaged threads | Very low, one roll lasts years | Washer is fine but threads still seep |
| Hose mender / repair coupling | Mid-hose pinholes and splits | Low | The body failed away from the ends |
| Replacement end fitting | A crushed or cracked crimped collar | Low | The leak is at the hose’s own coupling |
| Stripped-faucet adapter | A spigot with damaged threads | Low-moderate | The faucet threads won’t seal |
| Hose clamp / patch | Emergency stopgap only | Very low | You need today’s watering to finish |
A drawer with a small bag of washers, a roll of PTFE tape, and one mender covers roughly every leak on this list for less than the cost of a single mid-range hose. Buying those staples once is the frugal move; replacing a hose every time a washer dies is not.
When fixing a leaky garden hose isn’t worth it, the honest part
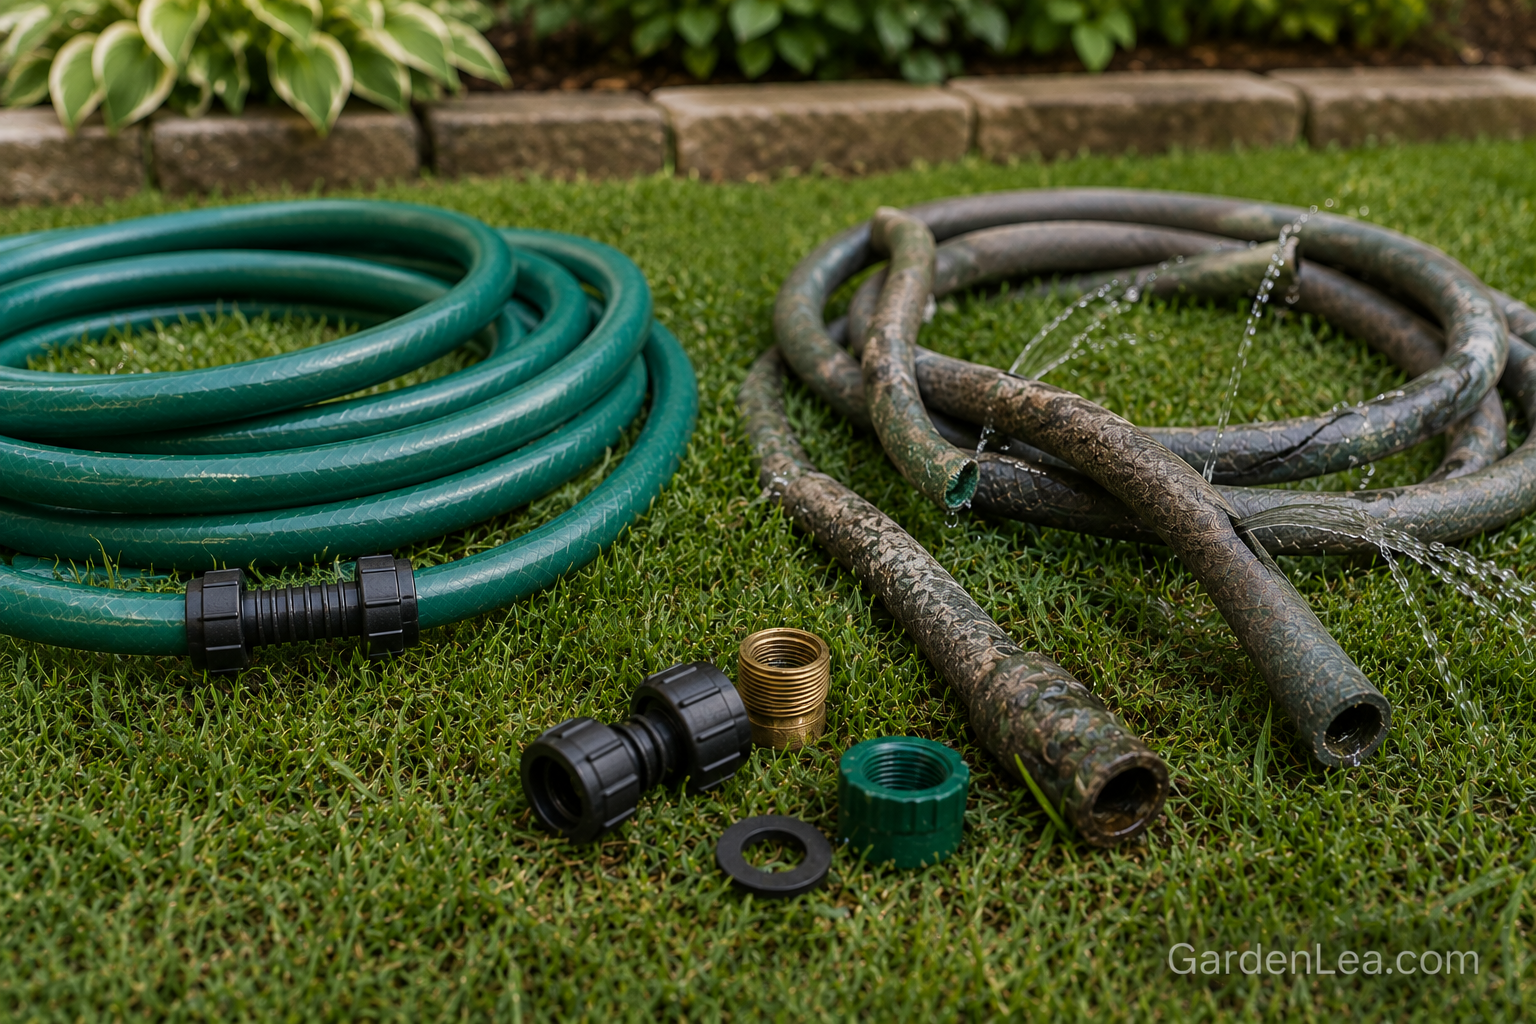
Here’s what the brands selling mender kits won’t put on the box: repairs are cheap, but a dying hose keeps finding new places to leak. Rubber and vinyl degrade all along their length at the same rate, so if a sun-baked, previously-frozen hose springs a pinhole, the rest of the wall is close behind. You can spend a Saturday chasing leaks and still be re-mending it in August.
A plain rule that saves money over a season:
- One or two menders in a hose you otherwise like: repair it. You’re ahead.
- A third leak, or a hose that’s gone stiff, cracked, or kinks no matter what: replace it. The wall has aged out; you’re throwing good parts at a lost cause.
- Any split or crimp leak on an expandable hose: replace it. Expandable hoses fail at the crimp where the inner tube meets the end, and that joint can’t be reliably mended, this is a known weak point of the design, covered in are expandable garden hoses worth it.
- A leak that traces back to the faucet, not the hose: fix the spigot (or call a plumber), and stop buying hoses.
Being honest about that threshold is the whole point. Most guides will happily walk you through a fifth repair because the parts are cheap. But your time isn’t, and a hose that leaks every week isn’t saving you anything.
Preventing the next leak
Most hose leaks are storage damage, not use damage. Three habits do most of the work:
- Don’t leave it pressurized in the sun. Standing water in a hot hose builds pressure that stresses the walls and fittings. Turn the spigot off at the tap, not just the nozzle.
- Drain and coil it loosely on a reel or wide hook, tight coils and hard kinks are where next year’s pinholes start.
- Winterize. Before the first hard freeze, disconnect the hose, drain it fully, and store it somewhere it won’t freeze. Trapped water expands when it freezes and splits both hoses and fittings, a huge share of “spring” leaks are actually last winter’s freeze damage.
Do those three things and most hoses outlast their fittings, which are the cheap, five-minute part to replace anyway.
FAQ
Why is my garden hose leaking at the connection to the faucet?
Almost always a worn or missing rubber washer inside the hose’s female end, replace it first. If the washer is good but it still seeps, wrap the faucet threads with plumber’s tape. If the faucet threads themselves are stripped, the spigot is the problem, not the hose.
Can you fix a hole in the middle of a garden hose?
Yes. Cut out the damaged section and join the two ends with a hose mender (repair coupling). Tape or a clamp will get you through one watering, but a mender is the only lasting fix for a pinhole or split.
Do I need a specific washer size for my hose?
Standard residential hoses use a standard 3/4″-thread washer regardless of hose diameter, so a common garden-hose washer multipack fits nearly all US hoses and nozzles. Replacement end fittings, though, must match your hose’s diameter, usually 5/8″.
Is it cheaper to repair or replace a leaky garden hose?
Repair is cheaper for the first one or two leaks, a washer or mender costs a fraction of a new hose. But once a hose leaks in three or more spots, has gone stiff, or keeps kinking, the wall has aged out and replacing it is the better value.
How do I stop my garden hose from leaking again?
Don’t leave it pressurized in the sun, coil it loosely instead of kinking it, and drain and store it before winter. Freeze damage and repeat kinks cause most leaks, and both are preventable.
